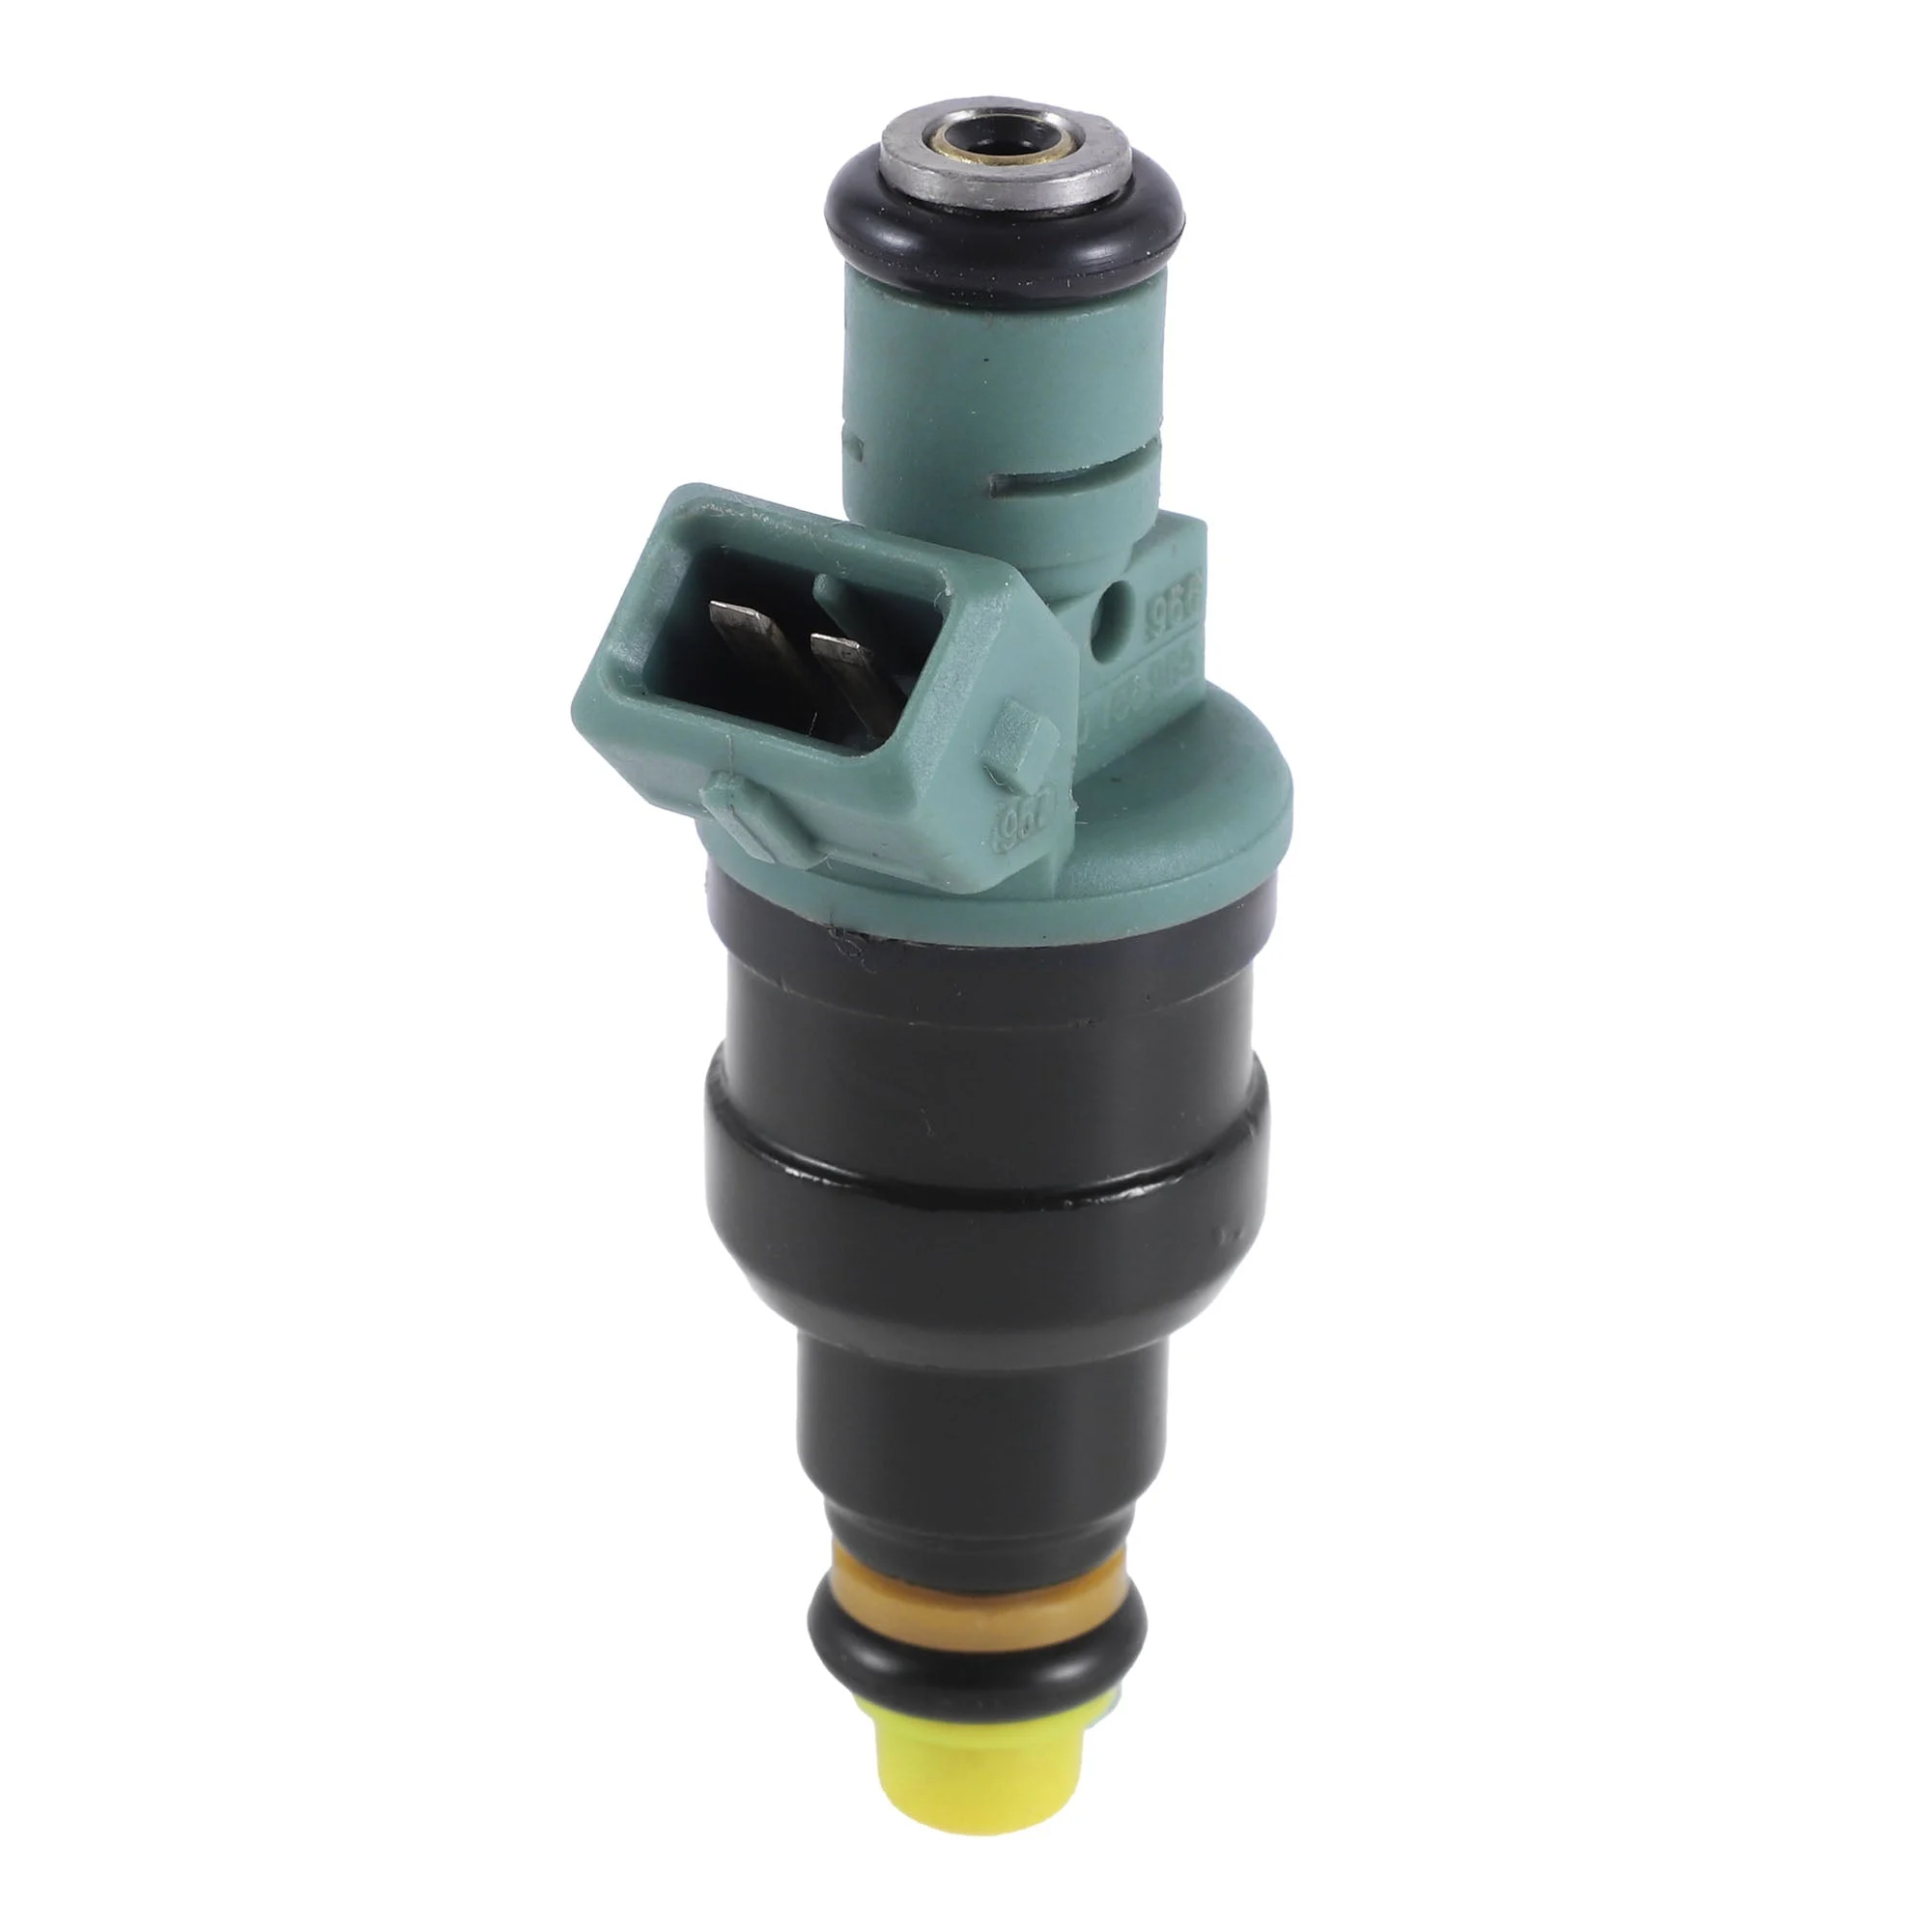
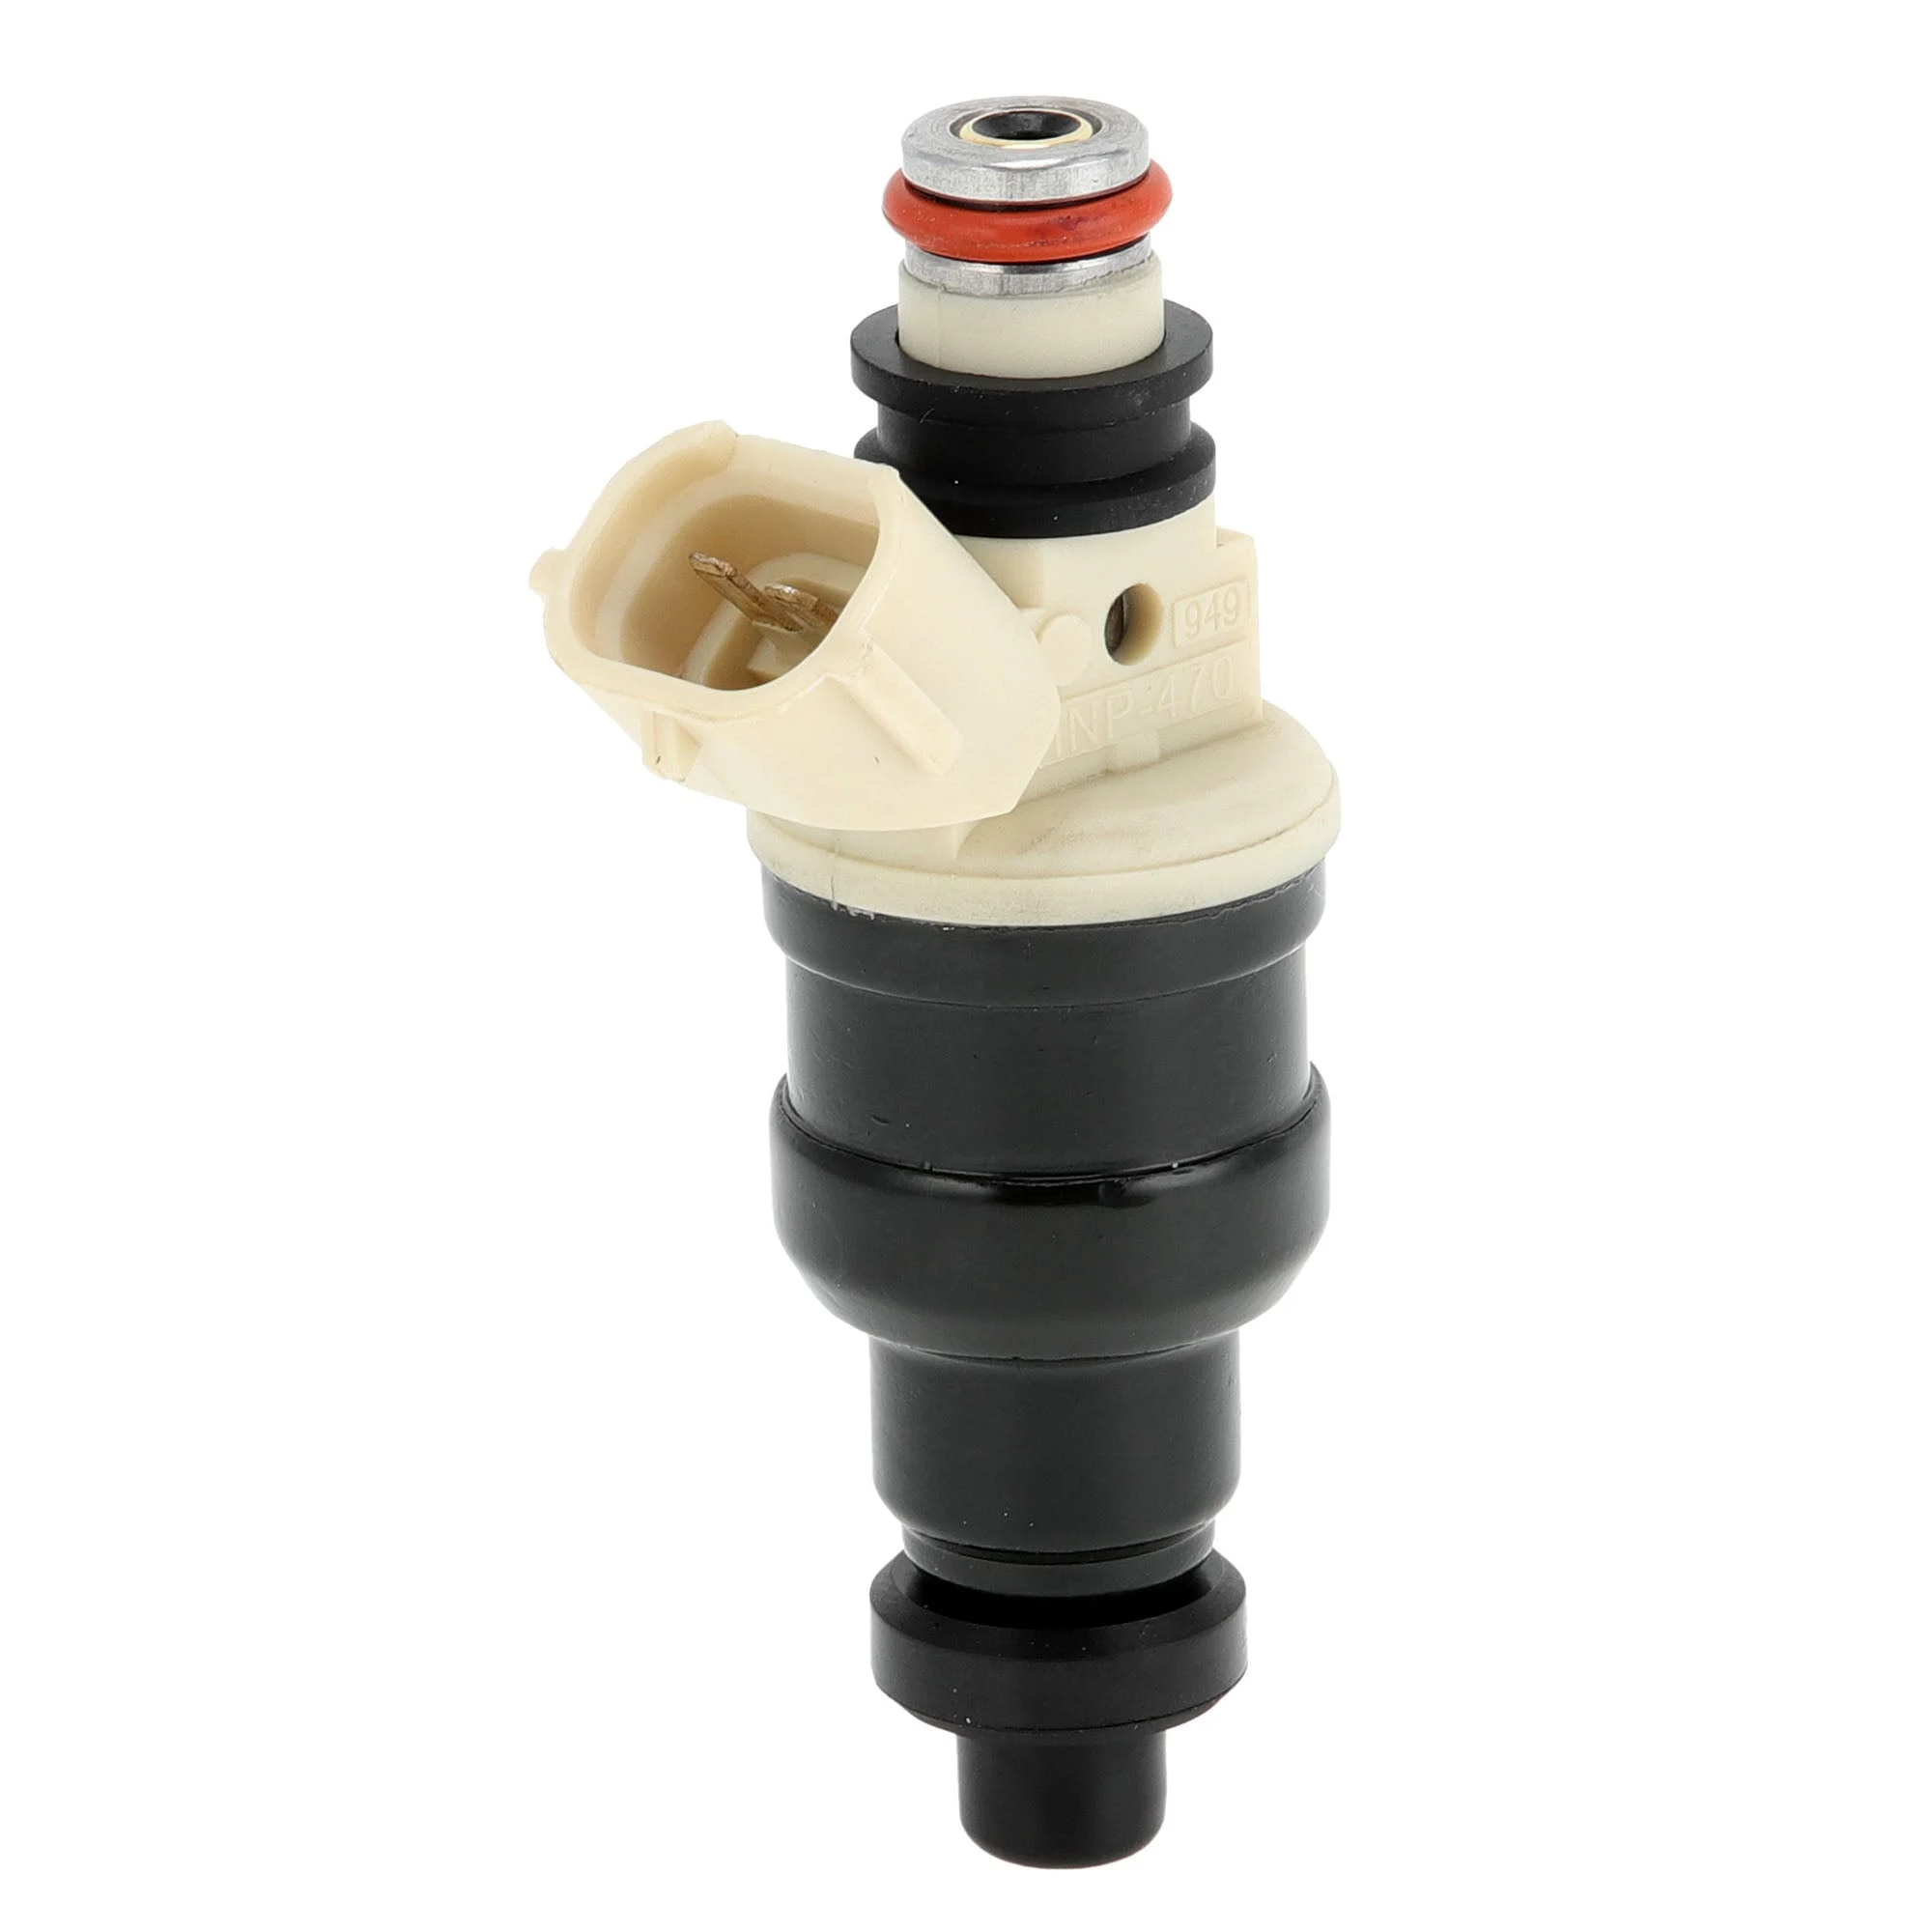
About this item
- Fit for:for Dodge Avenger 1995-1999 2.0L , for Dodge Neon 1995 L4 2.0L Auto Trans, VIN: C, SOHC, for Dodge Neon 1995 L4 2.0L Auto Trans, VIN: Y, DOHC, for Eagle Talon 2.0L 1995-1998, for Mitsubishi Eclipse 2.0L 1996-1999, for Plymouth Neon 1995 L4 2.0L Auto Trans, for Plymouth Neon 1996 L4 2.0L DOHC
- OE Number:0280150965/4669011/M04669011/MO4669011/FJ212
- Product Characteristics: High-efficient fuel sprays and High Impedance Coils enable fast start-up in cold environments, low fuel consumption, and better performance.
- Feature: Durable effective rubber O-Ring that can seal fuel vapors in and keep them from leaking.
- Installation: Professional installation is highly recommended: Fuel injectors directly affect the air/fuel ratio for the engine and new fuel injectors do require a new or updated tune. We also suggest that you check the other component of the engine before installation.
Fitment:
- for Dodge Avenger 1995-1999 2.0L
- for Dodge Neon 1995 L4 2.0L Auto Trans, VIN: C, SOHC
- for Dodge Neon 1995 L4 2.0L Auto Trans, VIN: Y, DOHC
- for Eagle Talon 2.0L 1995-1998
- for Mitsubishi Eclipse 2.0L 1996-1999
- for Plymouth Neon 1995 L4 2.0L Auto Trans
- for Plymouth Neon 1996 L4 2.0L DOHC
OE Number:
- 0280150965/4669011/M04669011/MO4669011/FJ212
Product Characteristics:
- Direct replacement of your old injector and no modification needed.
- Durable effective O-Ring that can seal fuel vapors in and keep them from leaking.
- High efficient fuel sprays and High Impedance Coil for good performance.
- The high impedance fuel injector has been tested and exactly matches the internal coil resistance and fuel flow rate of OEM fuel injector.
- Fuel injectors directly affect the air/fuel ratio for the engine and new fuel injectors do require a new or updated tune. Professional installation is highly recommended.
- We suggest that you also check the other component of the engine before installation.
Installation:
- Step 1. Make sure the engine is cool down. Disconnect the battery.
- Step 2. Remove the bolts and brackets from the fuel rail.
- Step 3. Disconnect the plug on each injector.
- Step 4. Lift the fuel rail and remove the injector from the fuel rail.
- Step 5. Press the new injector into the rail. Reattach the fuel rail and put the injectors in their respective holes.
- Step 6. Bolt down fuel rail. Reattach fuel line. Plug in injector connectors. Reconnect battery.
- Step 7. Double check for fuel leaks before and after starting the engine.
Package Included:
- 1 Pc Fuel Injector


Reviews
There are no reviews yet.